Main Body
The floor of my camper is 3mm aluminium sheet, attached to the chassis using Sikaflex 252 and pop rivets.
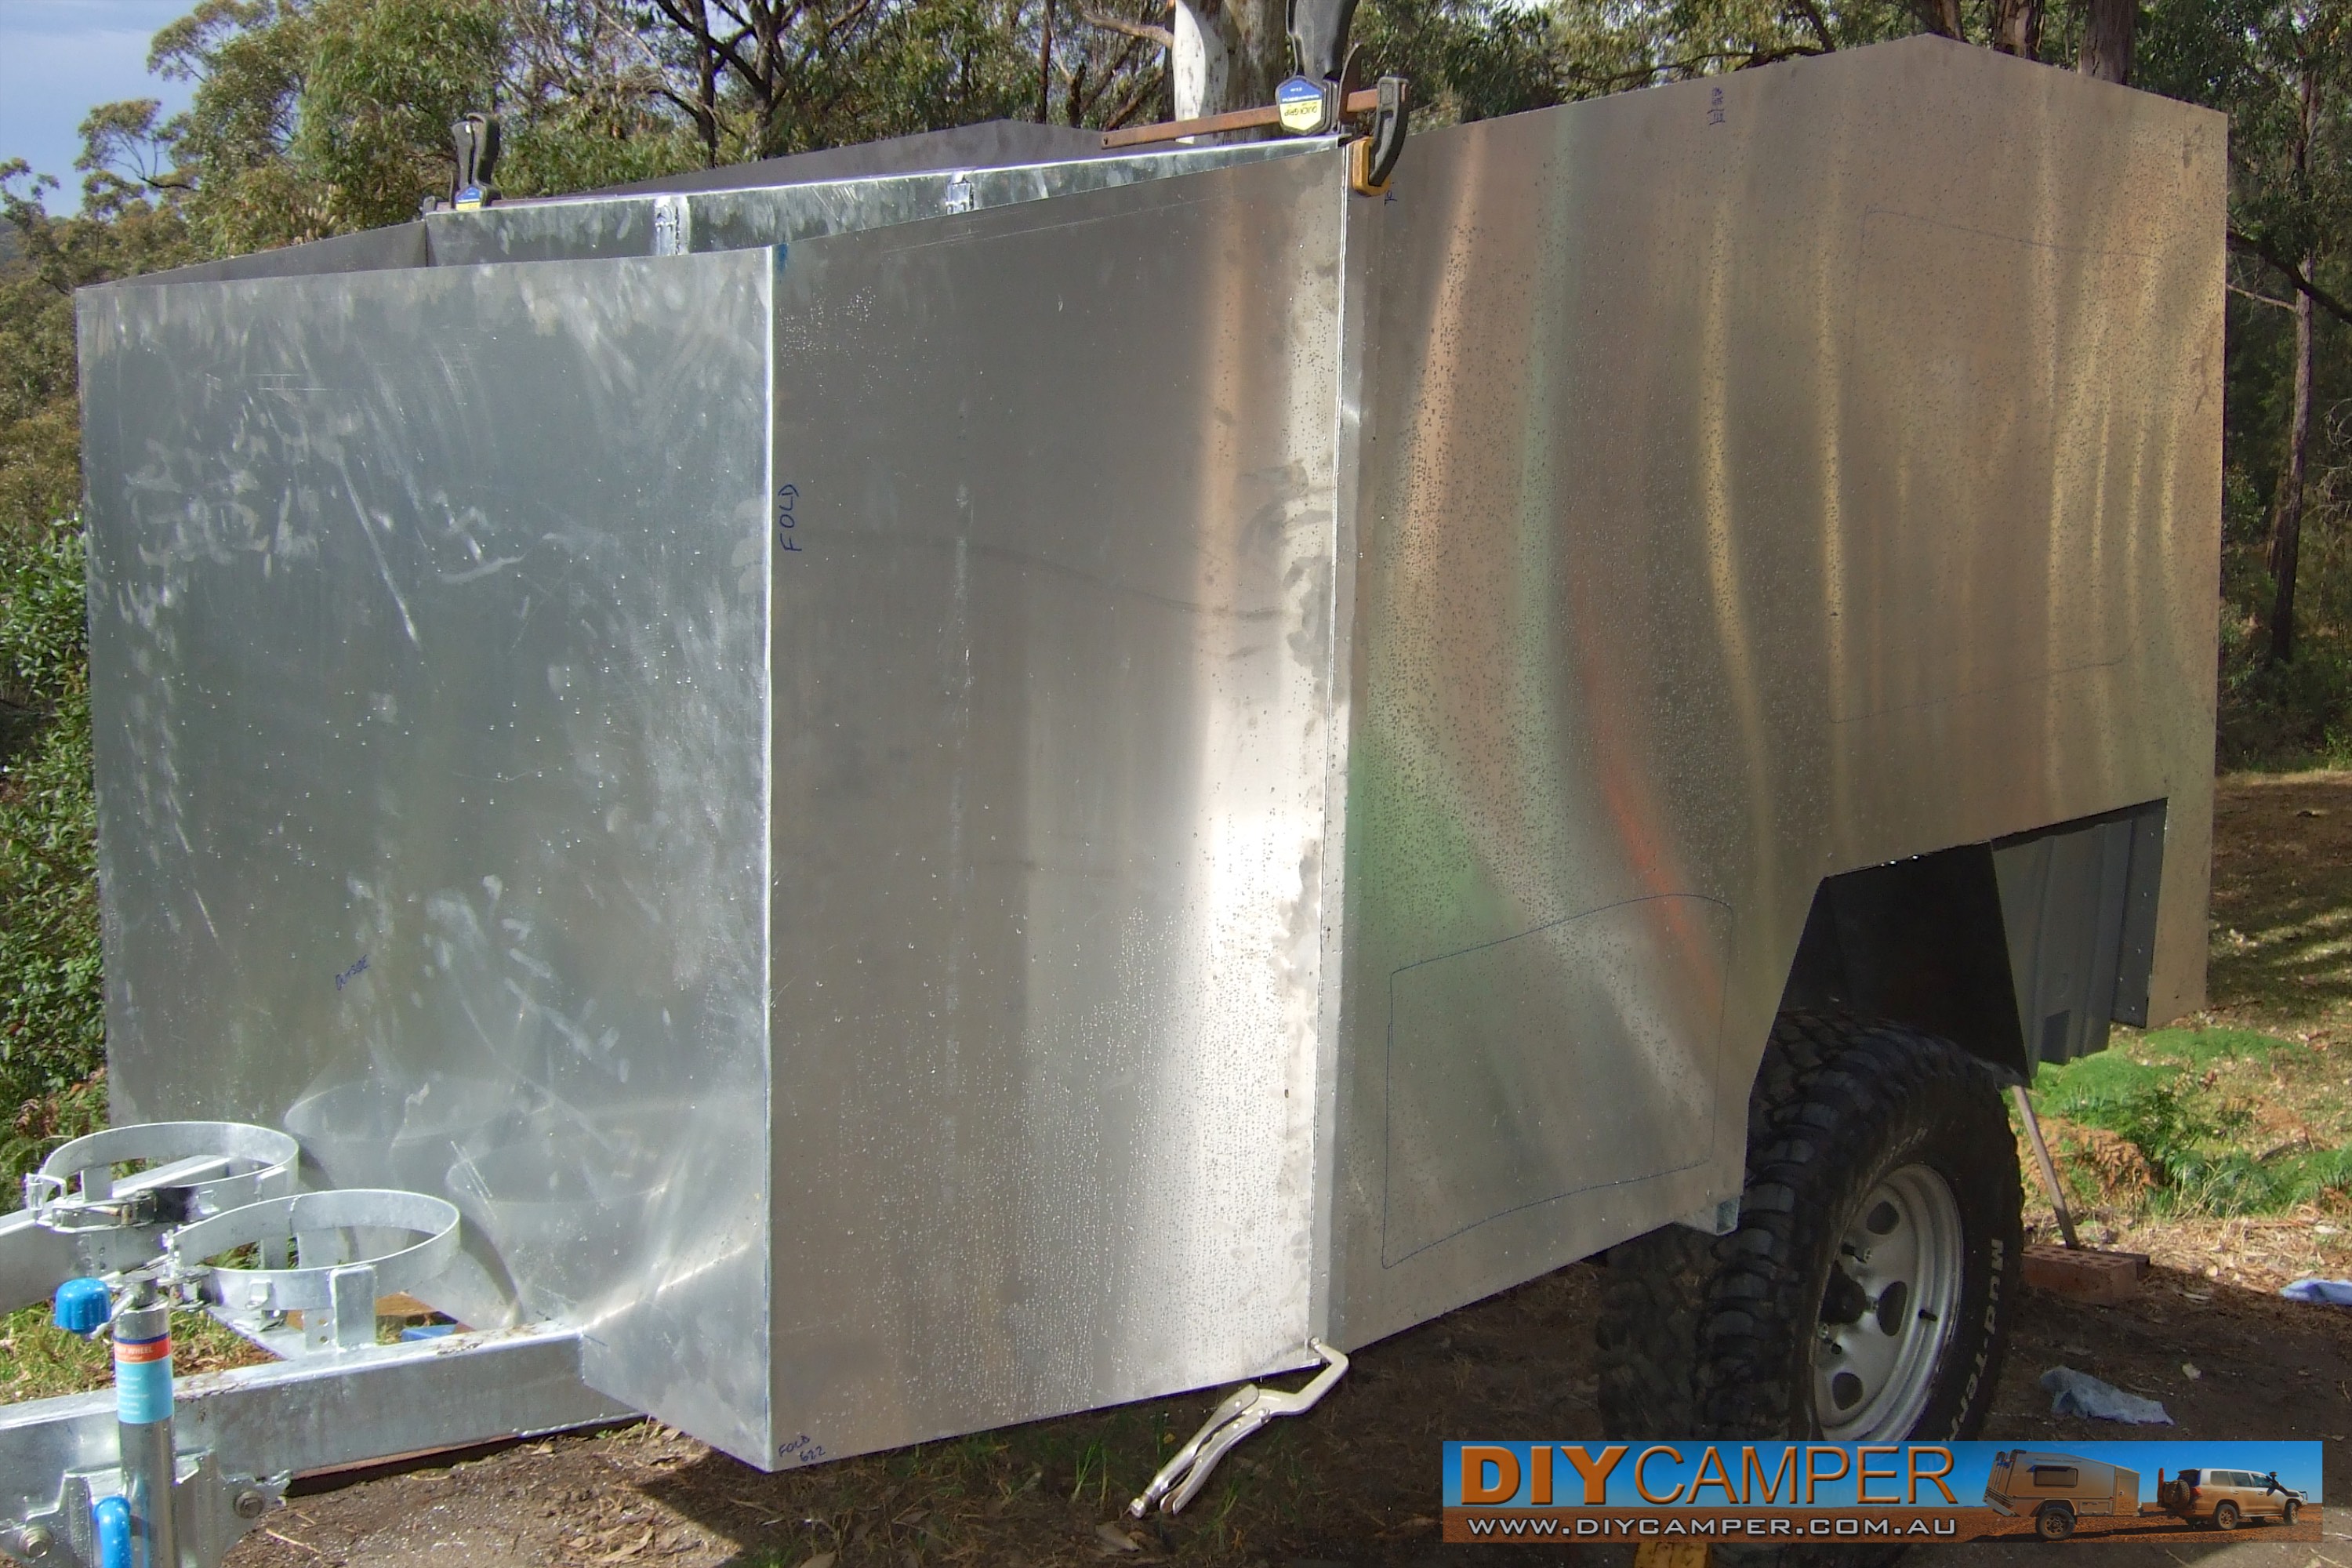
The walls, roof, wheel arches and the dividing wall between the load area and sleeping area are all 2mm sheet, but in hindsight, 1.6mm would have provided adequate strength and lighter weight.
Additional support for the walls comes from 40x40x4mm angle, which runs from front to back in the sleeping area at wheel-arch height, being bonded/rivetted to the walls and the tops of the wheel arches. This angle also supports the plywood base of the bed. There are two ribs of 25x50x3mm rectangle which run from this angle up the sides (at the front and back of the windows) and across the roof. This provides additional support for the sides and roof, and forms the frames for attaching the windows. The rows of rivets along the centre and bottom sides of the trailer are concealed thanks to the use of 'ticket strip' on the outside of the wall, which is then covered by a black vinyl cover strip.
The side/roof intersection comprises 40x40x4 angle on the inside of the join, and 40x40x1.6 angle on the outside of the join. The two angles form a sandwich with the wall/roof sheets in the middle. Rivets run through all three layers, with Sikaflex 252 bonding and sealing it all together.
There is a rectangular frame of 50x50x4mm angle which forms the door frame at the back of the sleeping area. This frame is welded together, but bonded/rivetted to the walls, floor and roof. Sitting on the rear face of the frame is a strip of 25x12mm channel, to which two rows of pinchweld are attached to seal the rear door opening.
I also created two 'boxes' just inside the rear door frames that run from floor to roof to add structural rigidity to the rear of the camper. The boxes are made of 2mm folded sheet. In addition to providing stregth, they also provide some minor storage and house HPM Excel power outlets, a stereo with speakers and
light switches for the interior lights.
The bottom of the walls are also Sikaflexed and riveted to the chassis. All joins between the floor and walls are reinforced with 40x40x4mm aluminium angle on the inside.
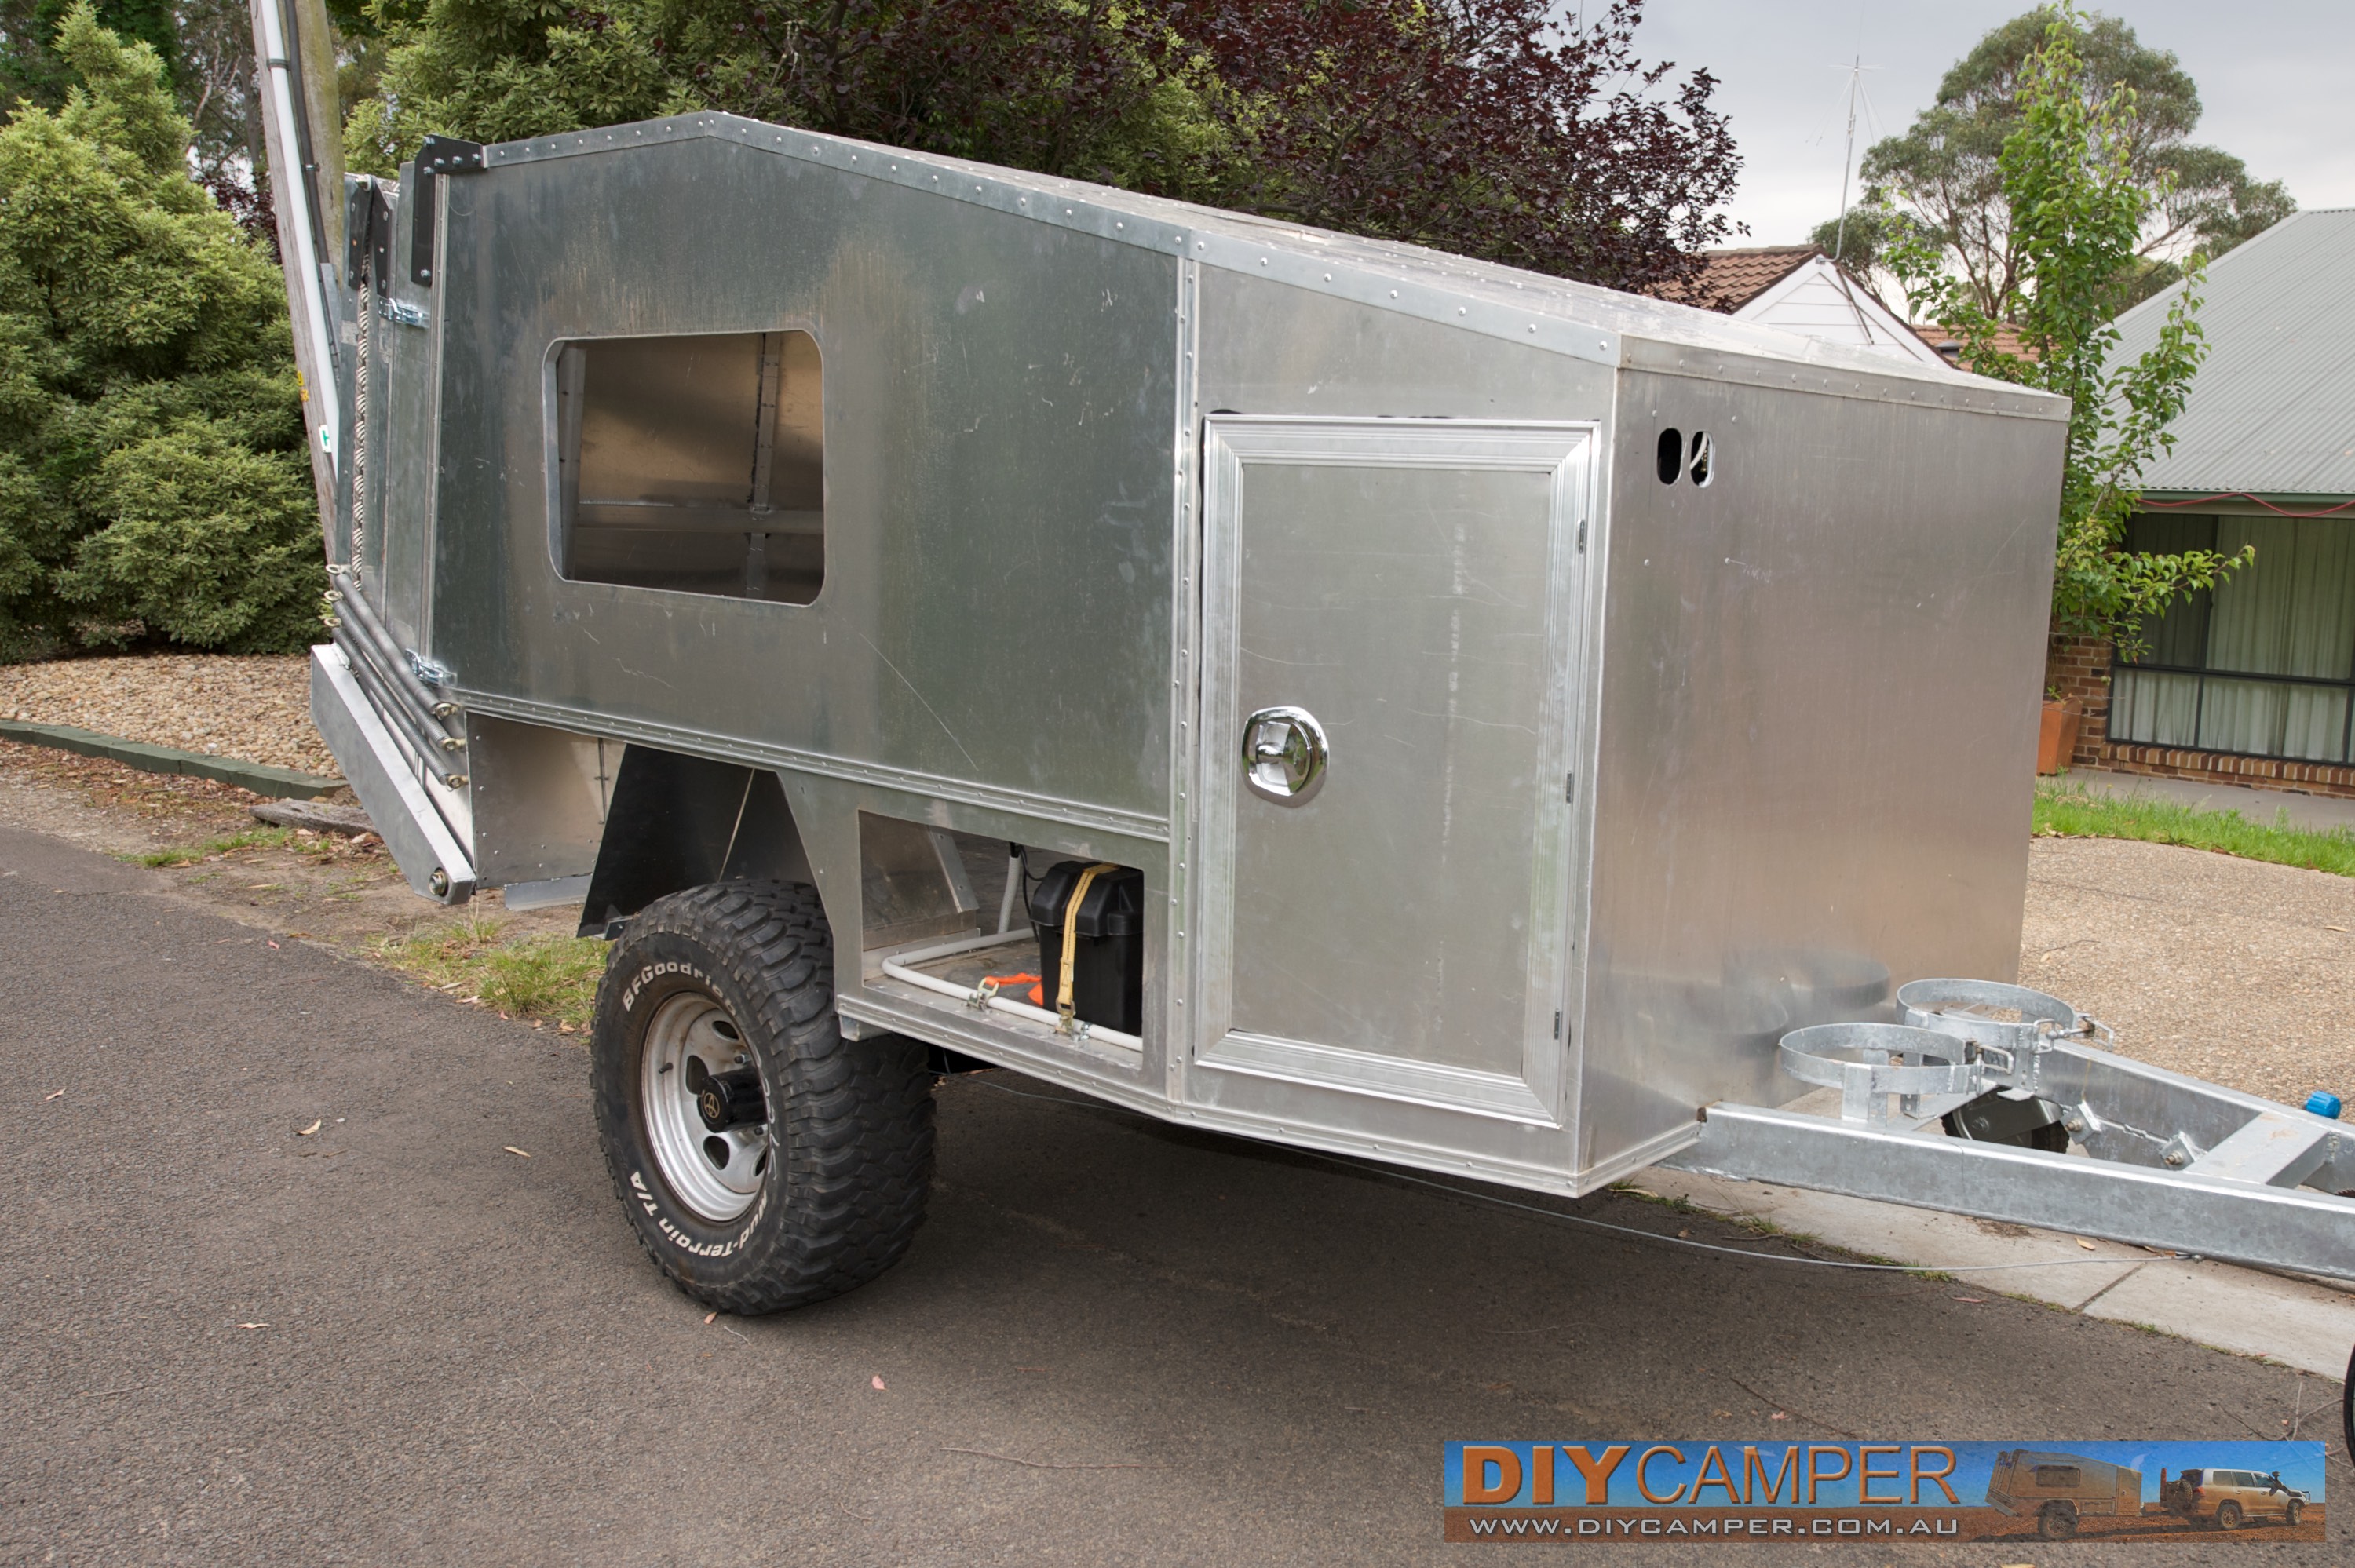
Ventilation is provided by Camec 450x915mm opening windows on either side, and a Fiamma 40x40 opening skylight/vent above the bed. Both the windows and skylight have flyscreens.
Rear door (top tailgate)
The rear door (top gailgate) hinges from the top, opening upwards with the assistance of gas struts. It forms the rear wall of the trailer, covering the entire opening. It's formed by a welded rectangular frame skinned with 2mm sheet.
The sides of the door frame are made of 50x150x3mm rectangular section. The top and bottom edges are 50x50x4 angle joining the channels together, welded so they form a flat inside face with the rectangular sections. This is the surface that pinchweld seals against against when the door is closed. This makes the tailgate a 150mm-deep 'tub', which provides space for the rear canvas to stuff into.
The hinges are custom made from 5mm steel plate bolted through the top frame of the trailer and the channel of the tailgate. The tailgate is held closed using two heavy duty over-centre catches.
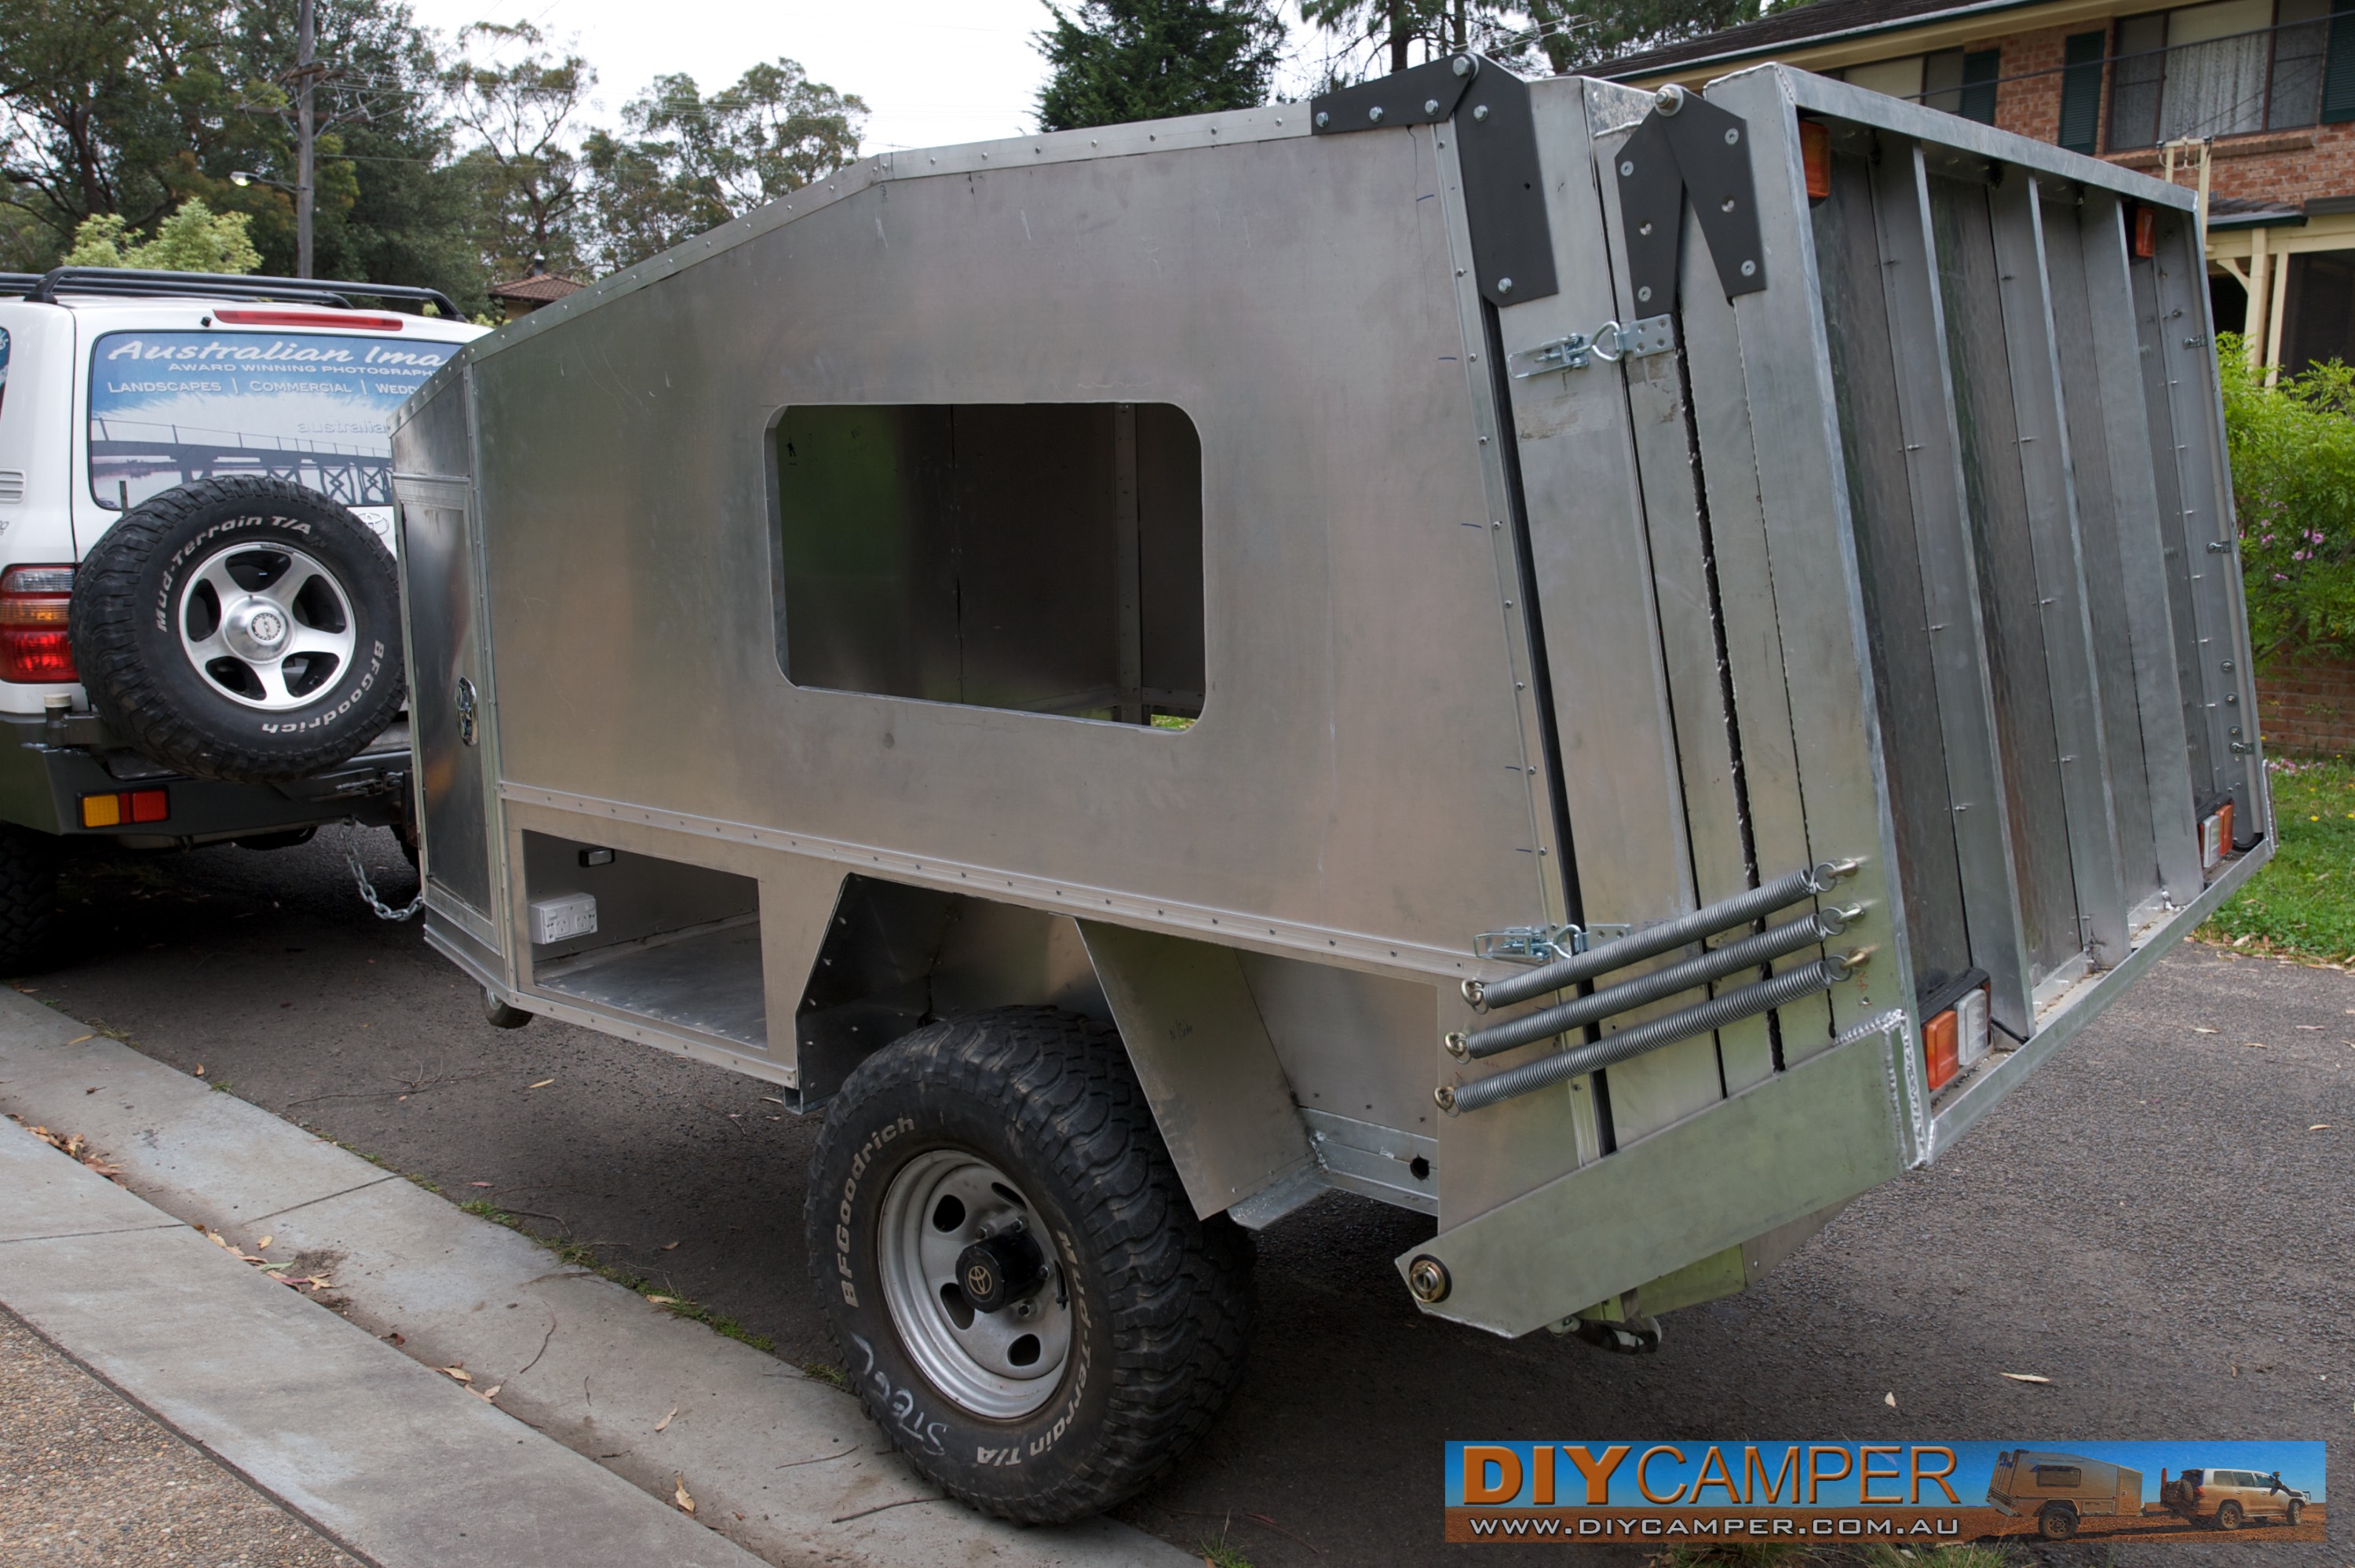
Lower tailgate and hard floor
The lower tailgate comprises three sections hinged together, so that it folds out to a hard floor that is 1800mm wide and 3600mm long. It folds up to the rear of the camper, so that the underside of the main section forms the back of the trailer when everything is folded up. It's home the taillights and number plate.
The frame for the main section is made from 80x40mm aluminium channel, with two ribs of 60x30mm channel for extra strength. The frames of the other two panels are entirely 60x30mm channel. All the channel joins are welded together, and 3mm checkerplate is rivetted and sikaflexed to the frames.
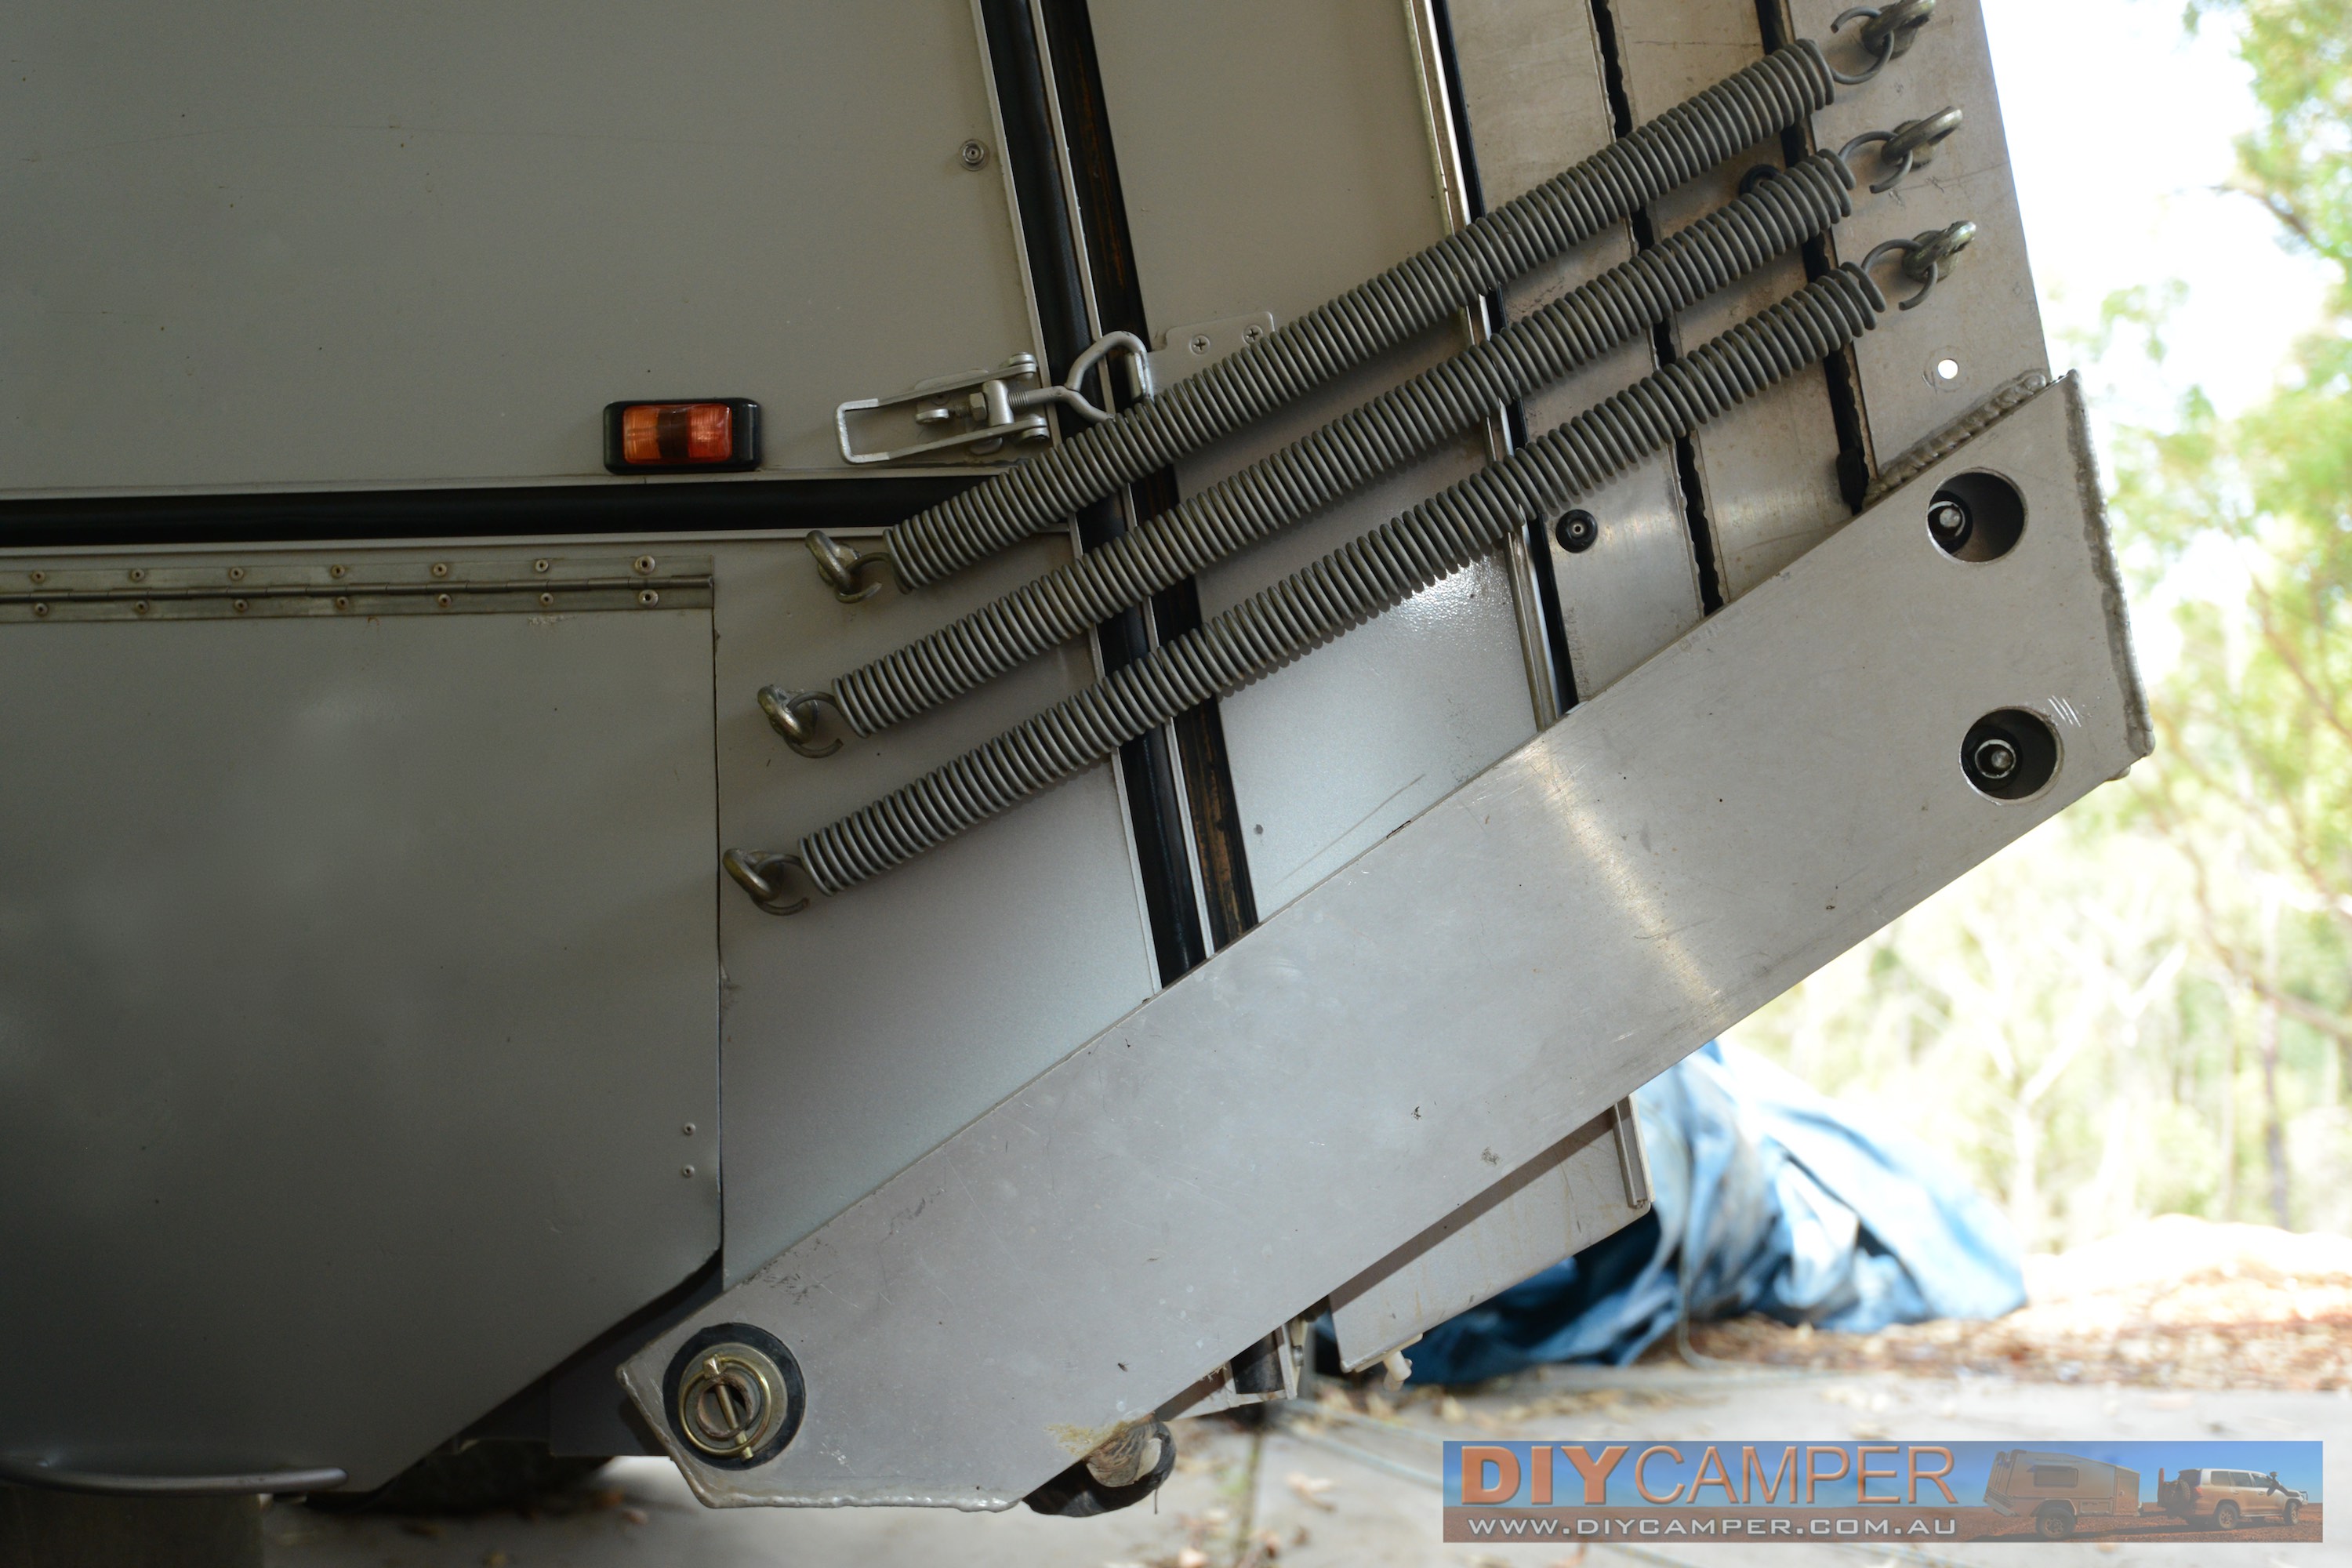
Welded and bolted to the main section are two bars of 150x50x3mm aluminium rectangular section. These bars hinge from the chassis of the camper using a piece of 1/2" gal water pipe as the main hinge pin, with custom-made nylon bushes. Most of the weight is supported by six custom-made springs from Better Springs in St Marys. This makes closing the tailgate almost effort-free.
Once the main section is opened, the other two sections hinge off it to form the floor for the canvas section of the camper.
Premium Sikaflex 252 body adhesive ![]()

Quality roof vents at the lowest prices ![]()


Canvas quality is an area that often separates the good, bad and ugly of commercially-made camper trailers. Almost every 'cheap' camper trailer on the market (even the ones that claim to be Australian) are using cheap Chinese canvas. Compared to quality Australian proofed canvas, the cheap stuff will soon leak, stretch and fade. When you're building your trailer, do yourself a favour and don't go anywhere near it. Choose a supplier who uses quality proofed canvas, combined with premium zippers and fittings. A good tip is to always carry some 'sail tape' (AKA ripstop tape), which can be put over any tears or holes that may develop on a trip.
My Trailer
The canvas section at the rear of my trailer drops down from the upper tailgate, where it is stuffed in place and held up with a net during travel. When erected on top of the hard floor (with the aid of several poles), it covers an area 1800mm wide by 3600mm long, providing sufficient space for two full-size stretcher beds and a small table if the weather is really bad.
Additionally, I have recently added a removable awning which attaches to the side of the trailer using sail-track, and has a row of aluminium tent poles along the edge. The poles store alongside the main bed, while the awning canvas folds up for storage above the generator.
All the canvas work was done locally at Wallaby Track canvas in Springwood, using all quality Australian-made canvas.

![]() If you found this page useful, please like or share on facebook!
If you found this page useful, please like or share on facebook!